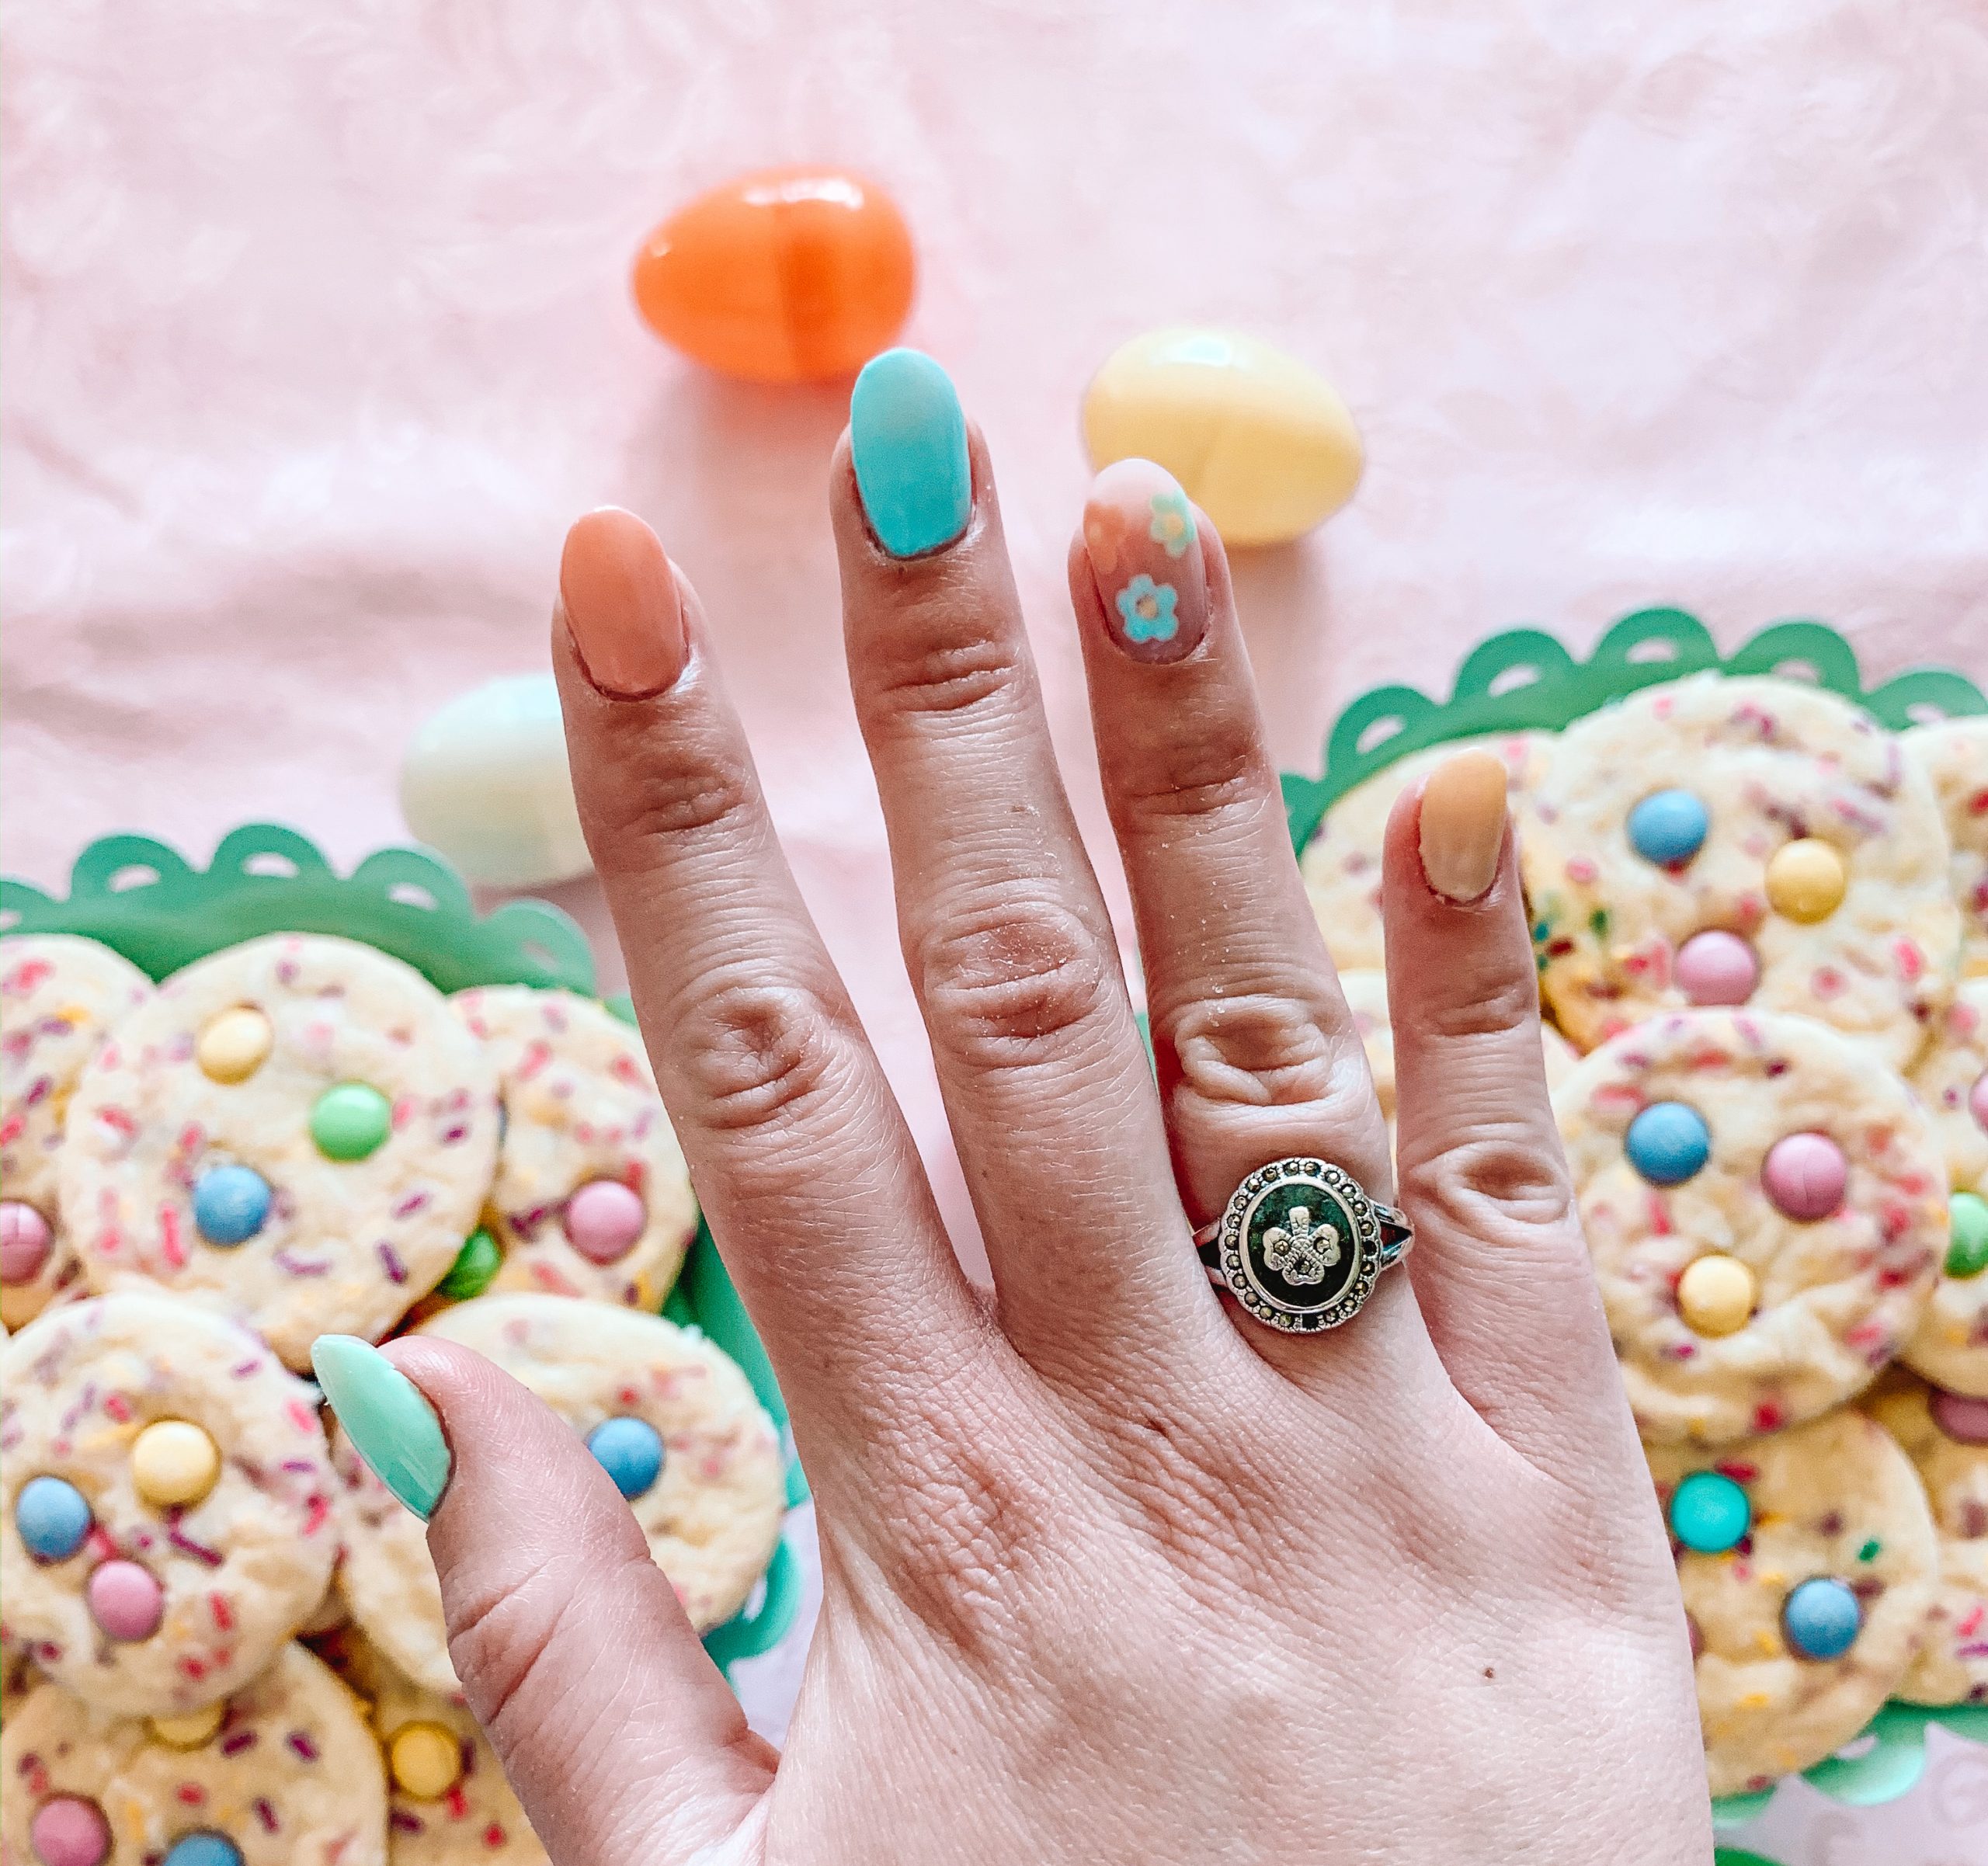
Hi everyone! One of my most view posts on here is my Dip Nail polish review, so I thought I would share my new nail routine. I wrote the dip nail polish post about year and half ago, and while I did like using that method, I think I love poly gel more. I like to have my nails on the long side, but my nails don’t grow very fast and usually break at a certain point. I got a gel nail polish kit for my birthday in January that came with a uv light. I really love the kit and its pretty affordable from Amazon. It’s $40 for 6 polishes, the UV/LED light, top/base coat, and a nail tool kit. I also ordered a pack of a bunch more gel polishes from Amazon. The one I got is only $30 for 16 polishes! These two kits were what I started with, doing my gel polish myself. However I quickly decided I wanted to try something to make my nails longer.
I first used the Kiss Acrylics nails. If you are want acrylics, but you don’t to go to a salon and want to do it quick, I suggest these. They are supposed to look natural, so you can paint them any color. I mostly used my gel polish, but I did use normal polish and it stays really well. I had seen a few people talking about getting poly gel kits on Amazon, and doing their own nails. So I found a kit and ordered it. This one that I use, I really love. It comes with 6 tubes of the gel, in several colors. They come in 4 pink shades, white, and clear. Personally, it usually doesn’t matter which color I use because I paint over it, but you can definitely just leave it as it.
Okay so I’m going to be honest with you, it can be a bit challenging at first. It took a few tries to get used to using the gel and figure out the best way to do them. That being said, I personally think it definitely worth it especially if you are like me, and like to always have your nails done. Whether you do poly gel or normal gel, think about how much money you can save doing it yourself! It’s may not be for everyone, but with a bit of practice you’ll get the hang of it. Now it’s something I love spending my time doing.

I thought I would quickly walk you through how I do my poly gel nails, and share some of the tricks I have learned from doing them many times! The first thing you want to do is to pick the correct form for your nails. I believe there are 12 different sizes, so you will definitely find one that fits your nail. The next thing you do it file you nail, this gives the base coat a better surface to adhere to. You then put on the base coat and cure for 30-60 seconds. Now you are ready to tackle the poly gel. Using the brush/spatula tool you want to take some of the gel and put it on your form. You need to use a solution to spread the gel, some kits come with a solution, but I just use Acetone. Dip your brush into the Acetone and spread the gel on the form making sure it is even. Next you gently press it onto your nail. When you press the nail down the gel sometimes comes out on the bottom, so don’t forget to to flip your finger out and smooth out under the nail. Cure it for 60 seconds, and then you any cut and file to the shape you want. If you want to leave the color as is add the top coat and you are good to go. If you want to paint them, you can ad some gel polish on top.
I made a video for Tiktok of me doing my poly gel nails with a voice over explanation. If you are more of a visual learner, I added it to my IGTV if you want to watch here. Here are some more of my favorite poly gel nails I have done.


